Sagacious Suricata
Upgrading the onboard storage on a Wyse 3040 thin client
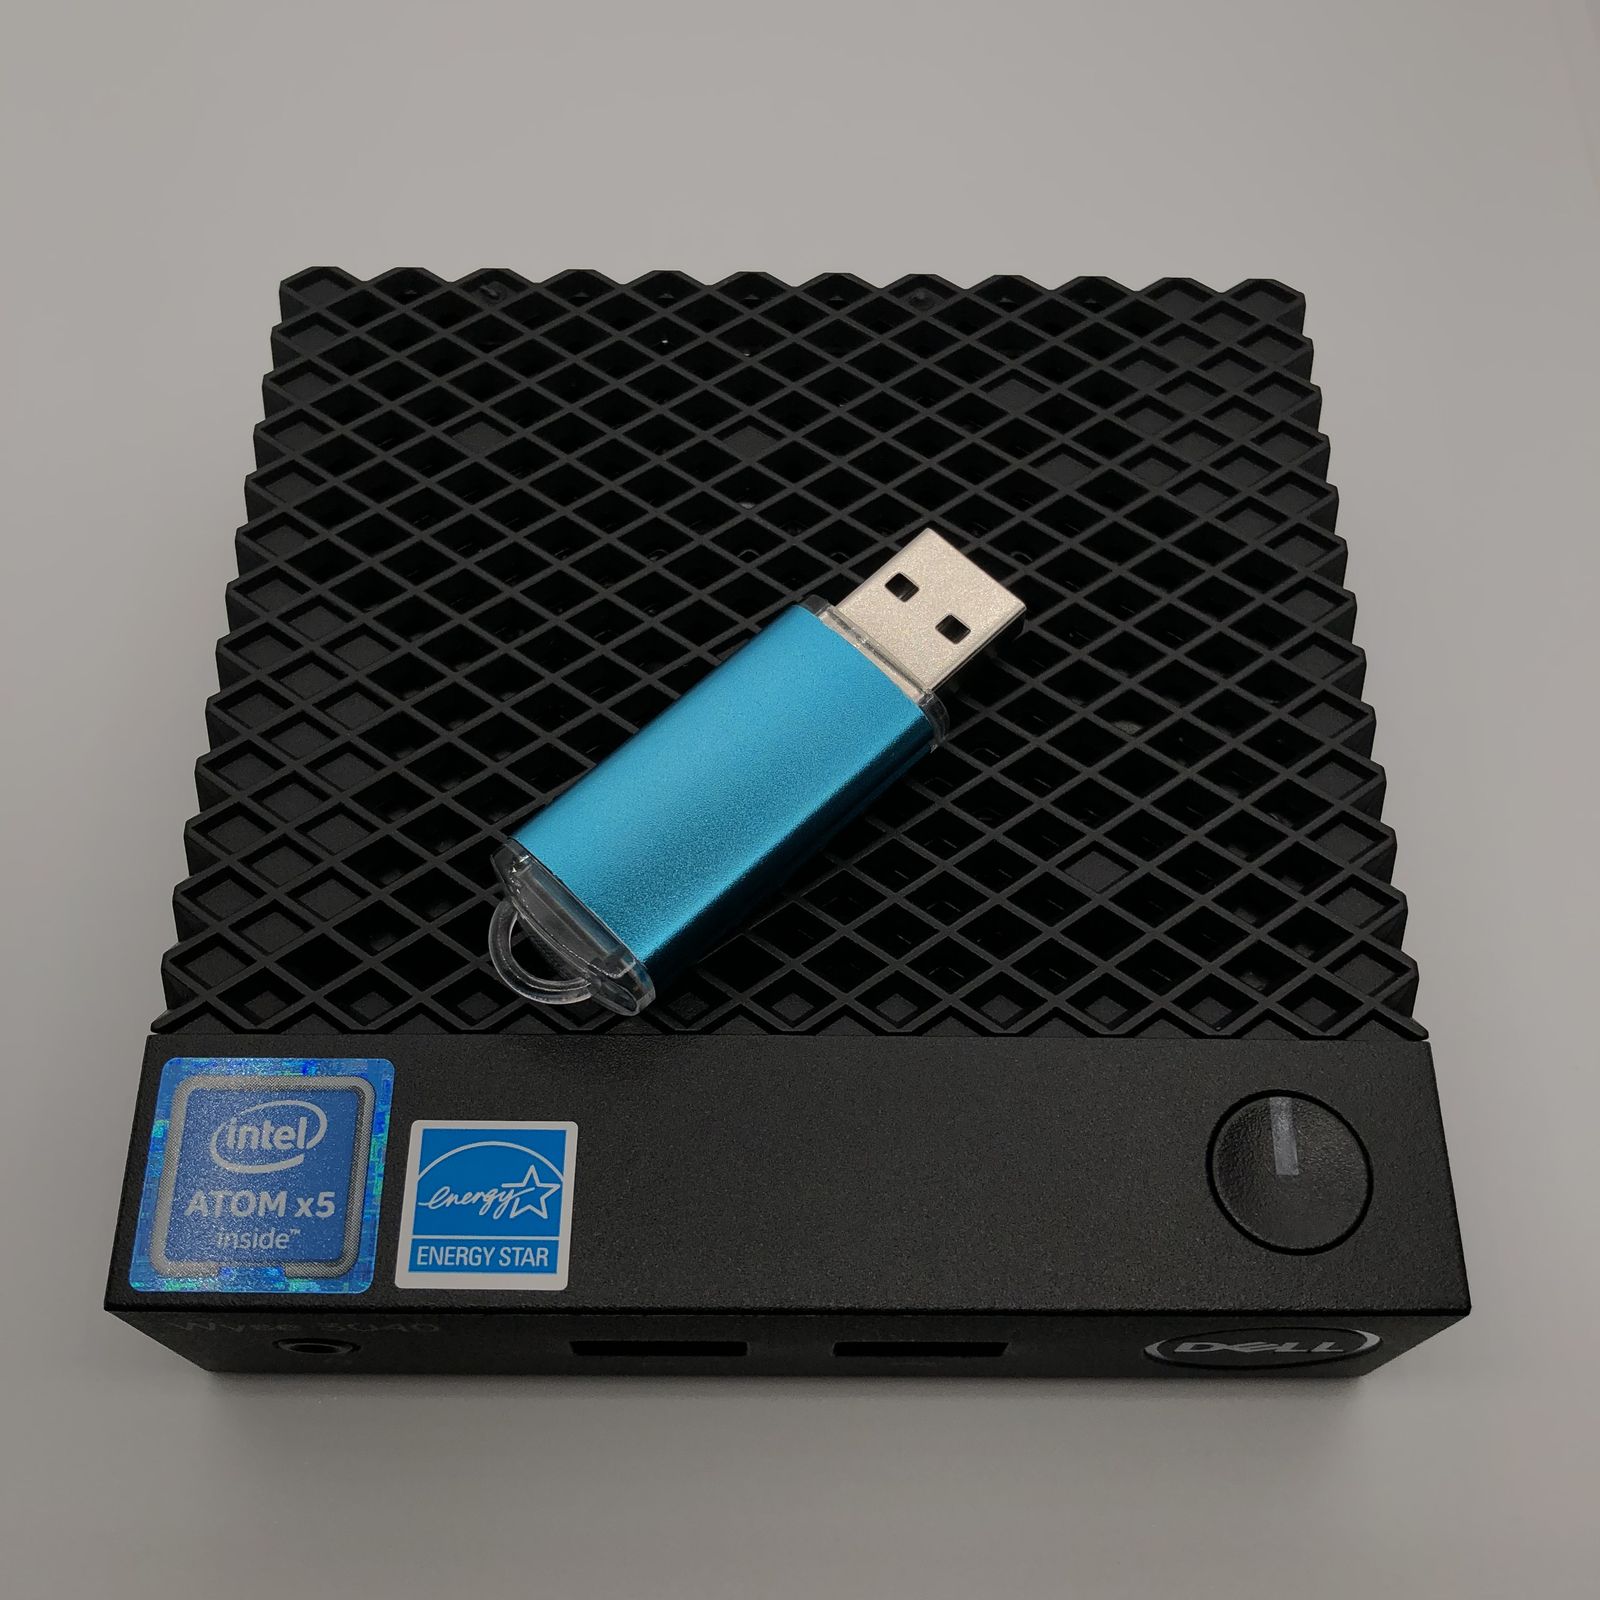
Recently I purchased a used Wyse 3040 thin client as a low-powered lightweight container host. Unfortunately, the model I got only had an 8GB eMMC, which is woefully insufficient for my use case. Since fast and reliable storage is desirable for this particular use case, simply mounting a USB flash drive and mounting it to /var/lib/containers is not a good option. The average USB flash drives have way too many potential disadvantages that I am comfortable with, including but not limited to:
- They tend to get quite hot and are pretty unreliable for extended use with heavy random RW operations.
- There are no means of discarding unused blocks like you can with most SATA, MMC, UFS and all NVMe storage mediums, which basically means I cannot run
fstrimon it, thus write speed may slow down if the controller is busy erasing all the unmapped blocks to make room for new data. - They have very little or almost no internal cache, so random IO performance is awful.
Instead of giving up and buying something else, I decided to upgrade its eMMC storage instead.

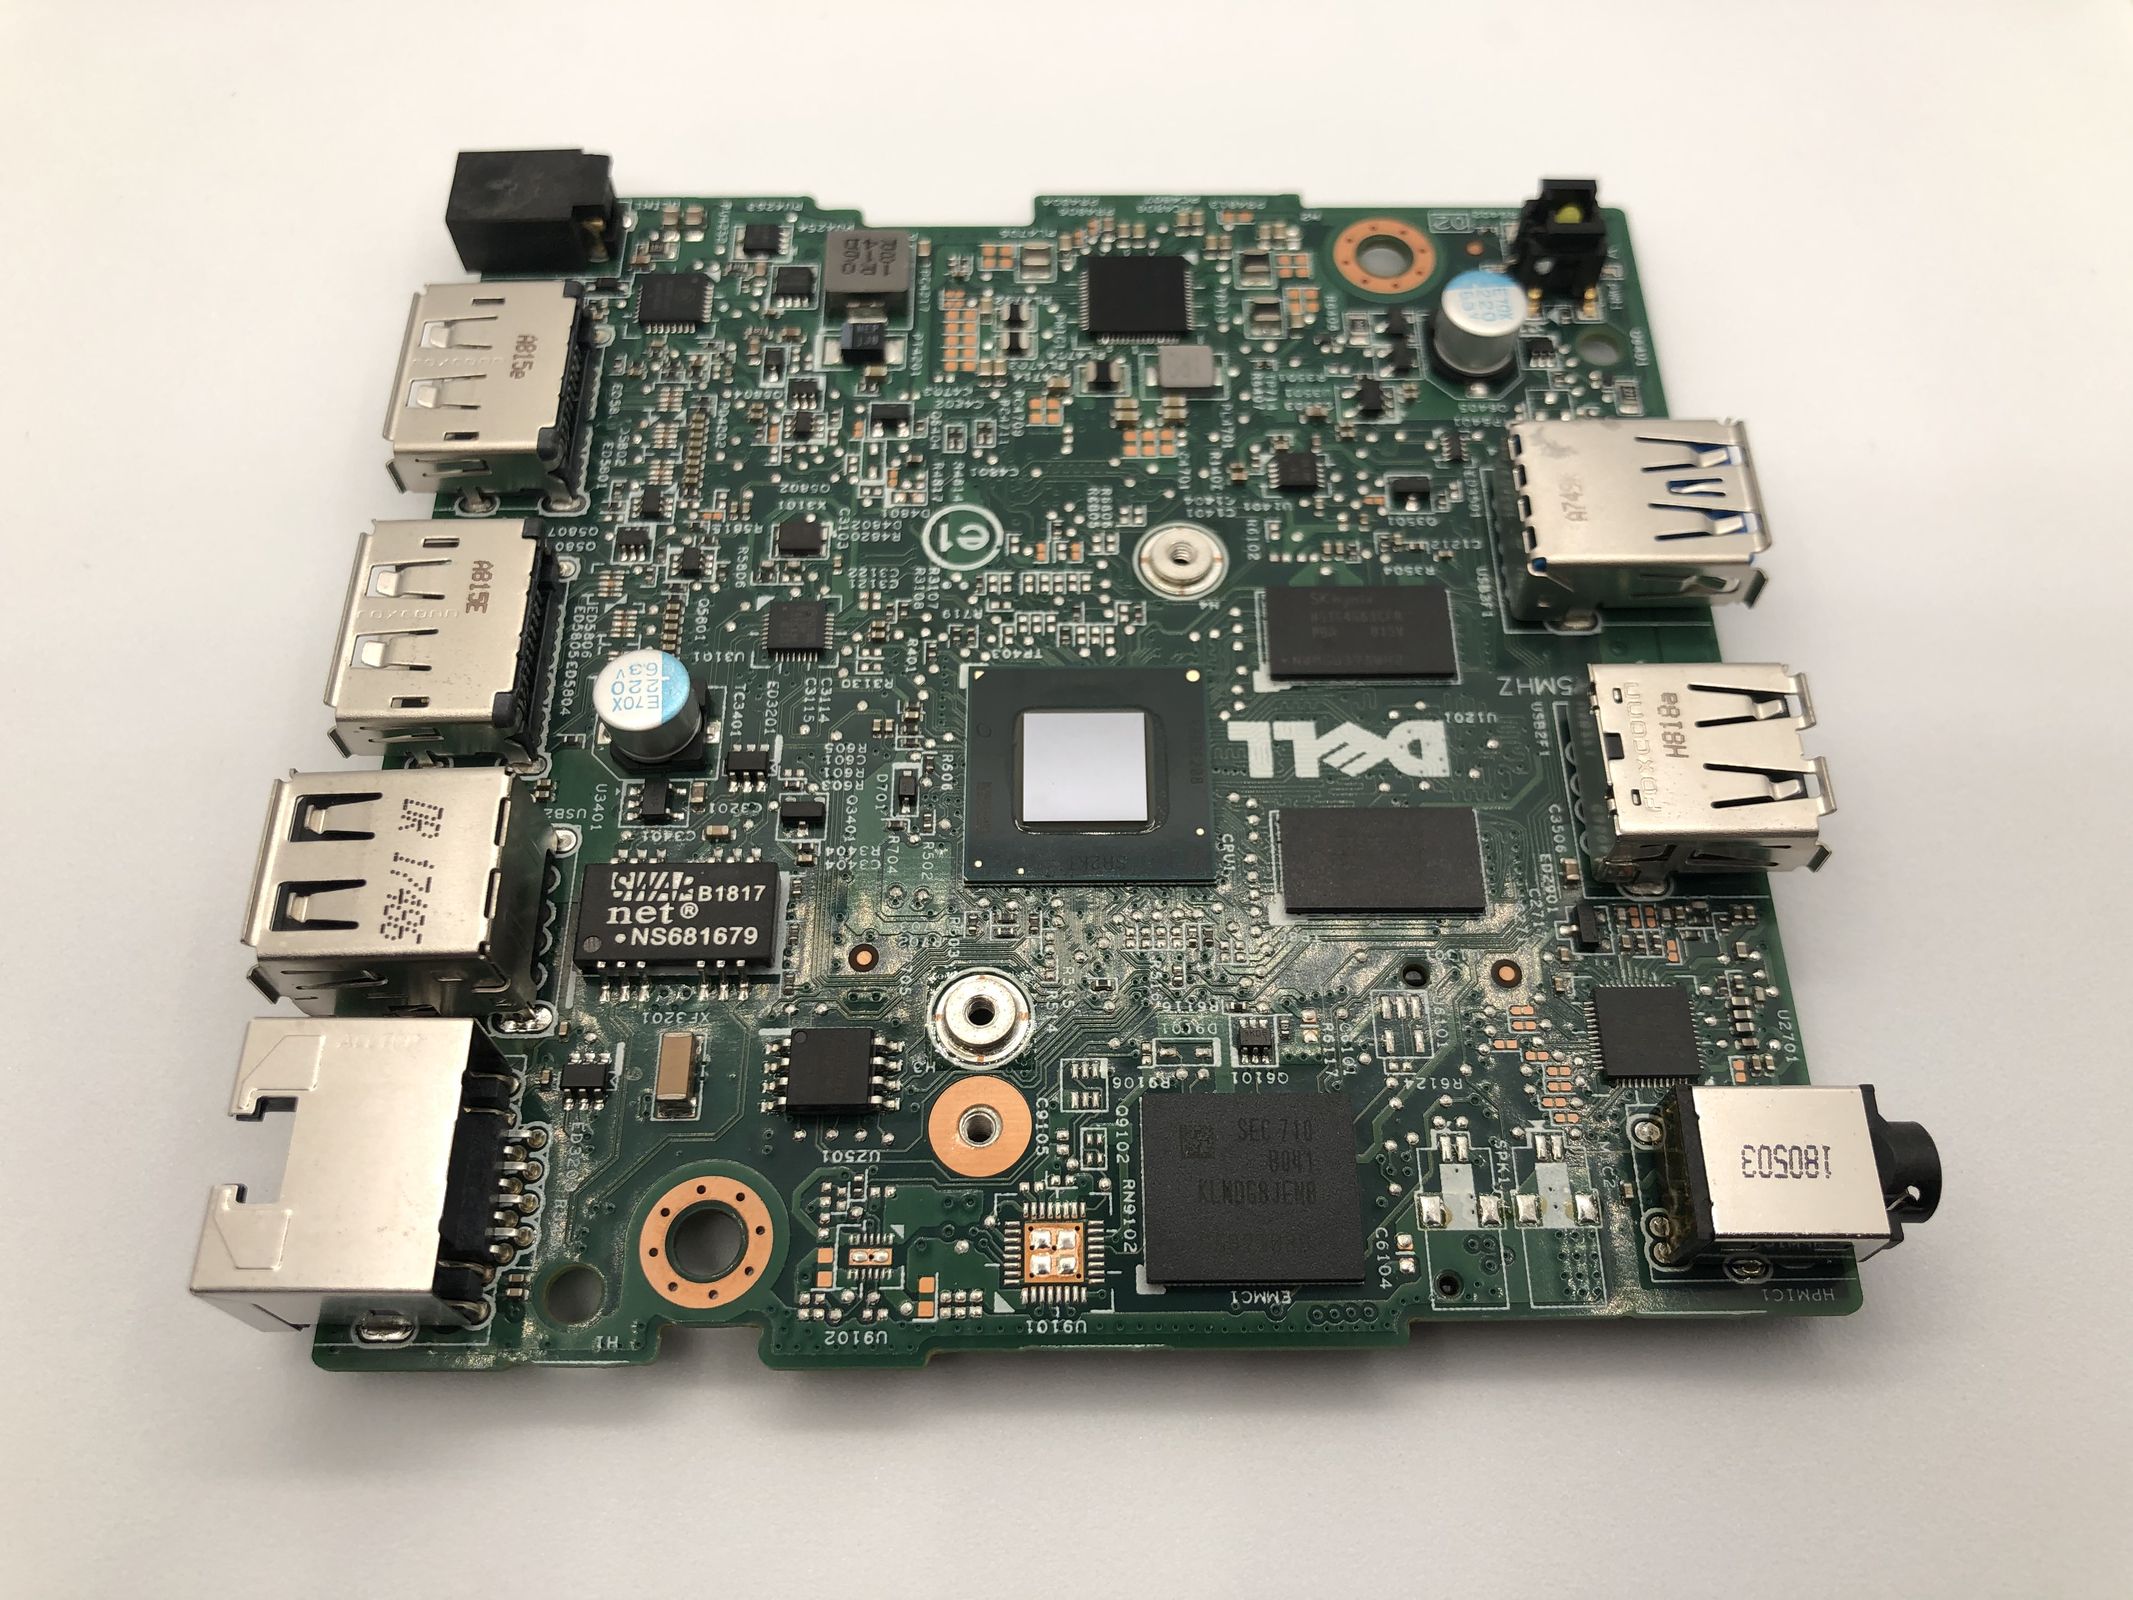
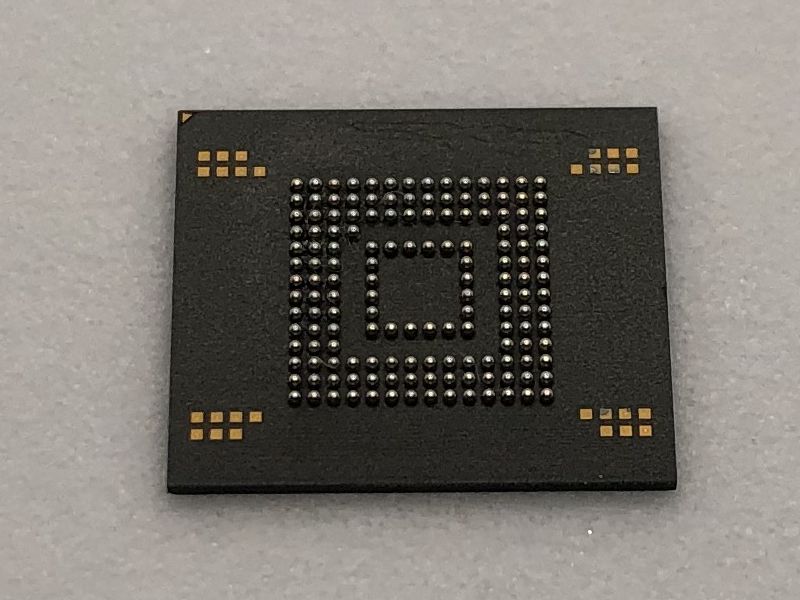
The device is fairly trivial to disassemble, and we can see the 8GB eMMC made by SKHynix.

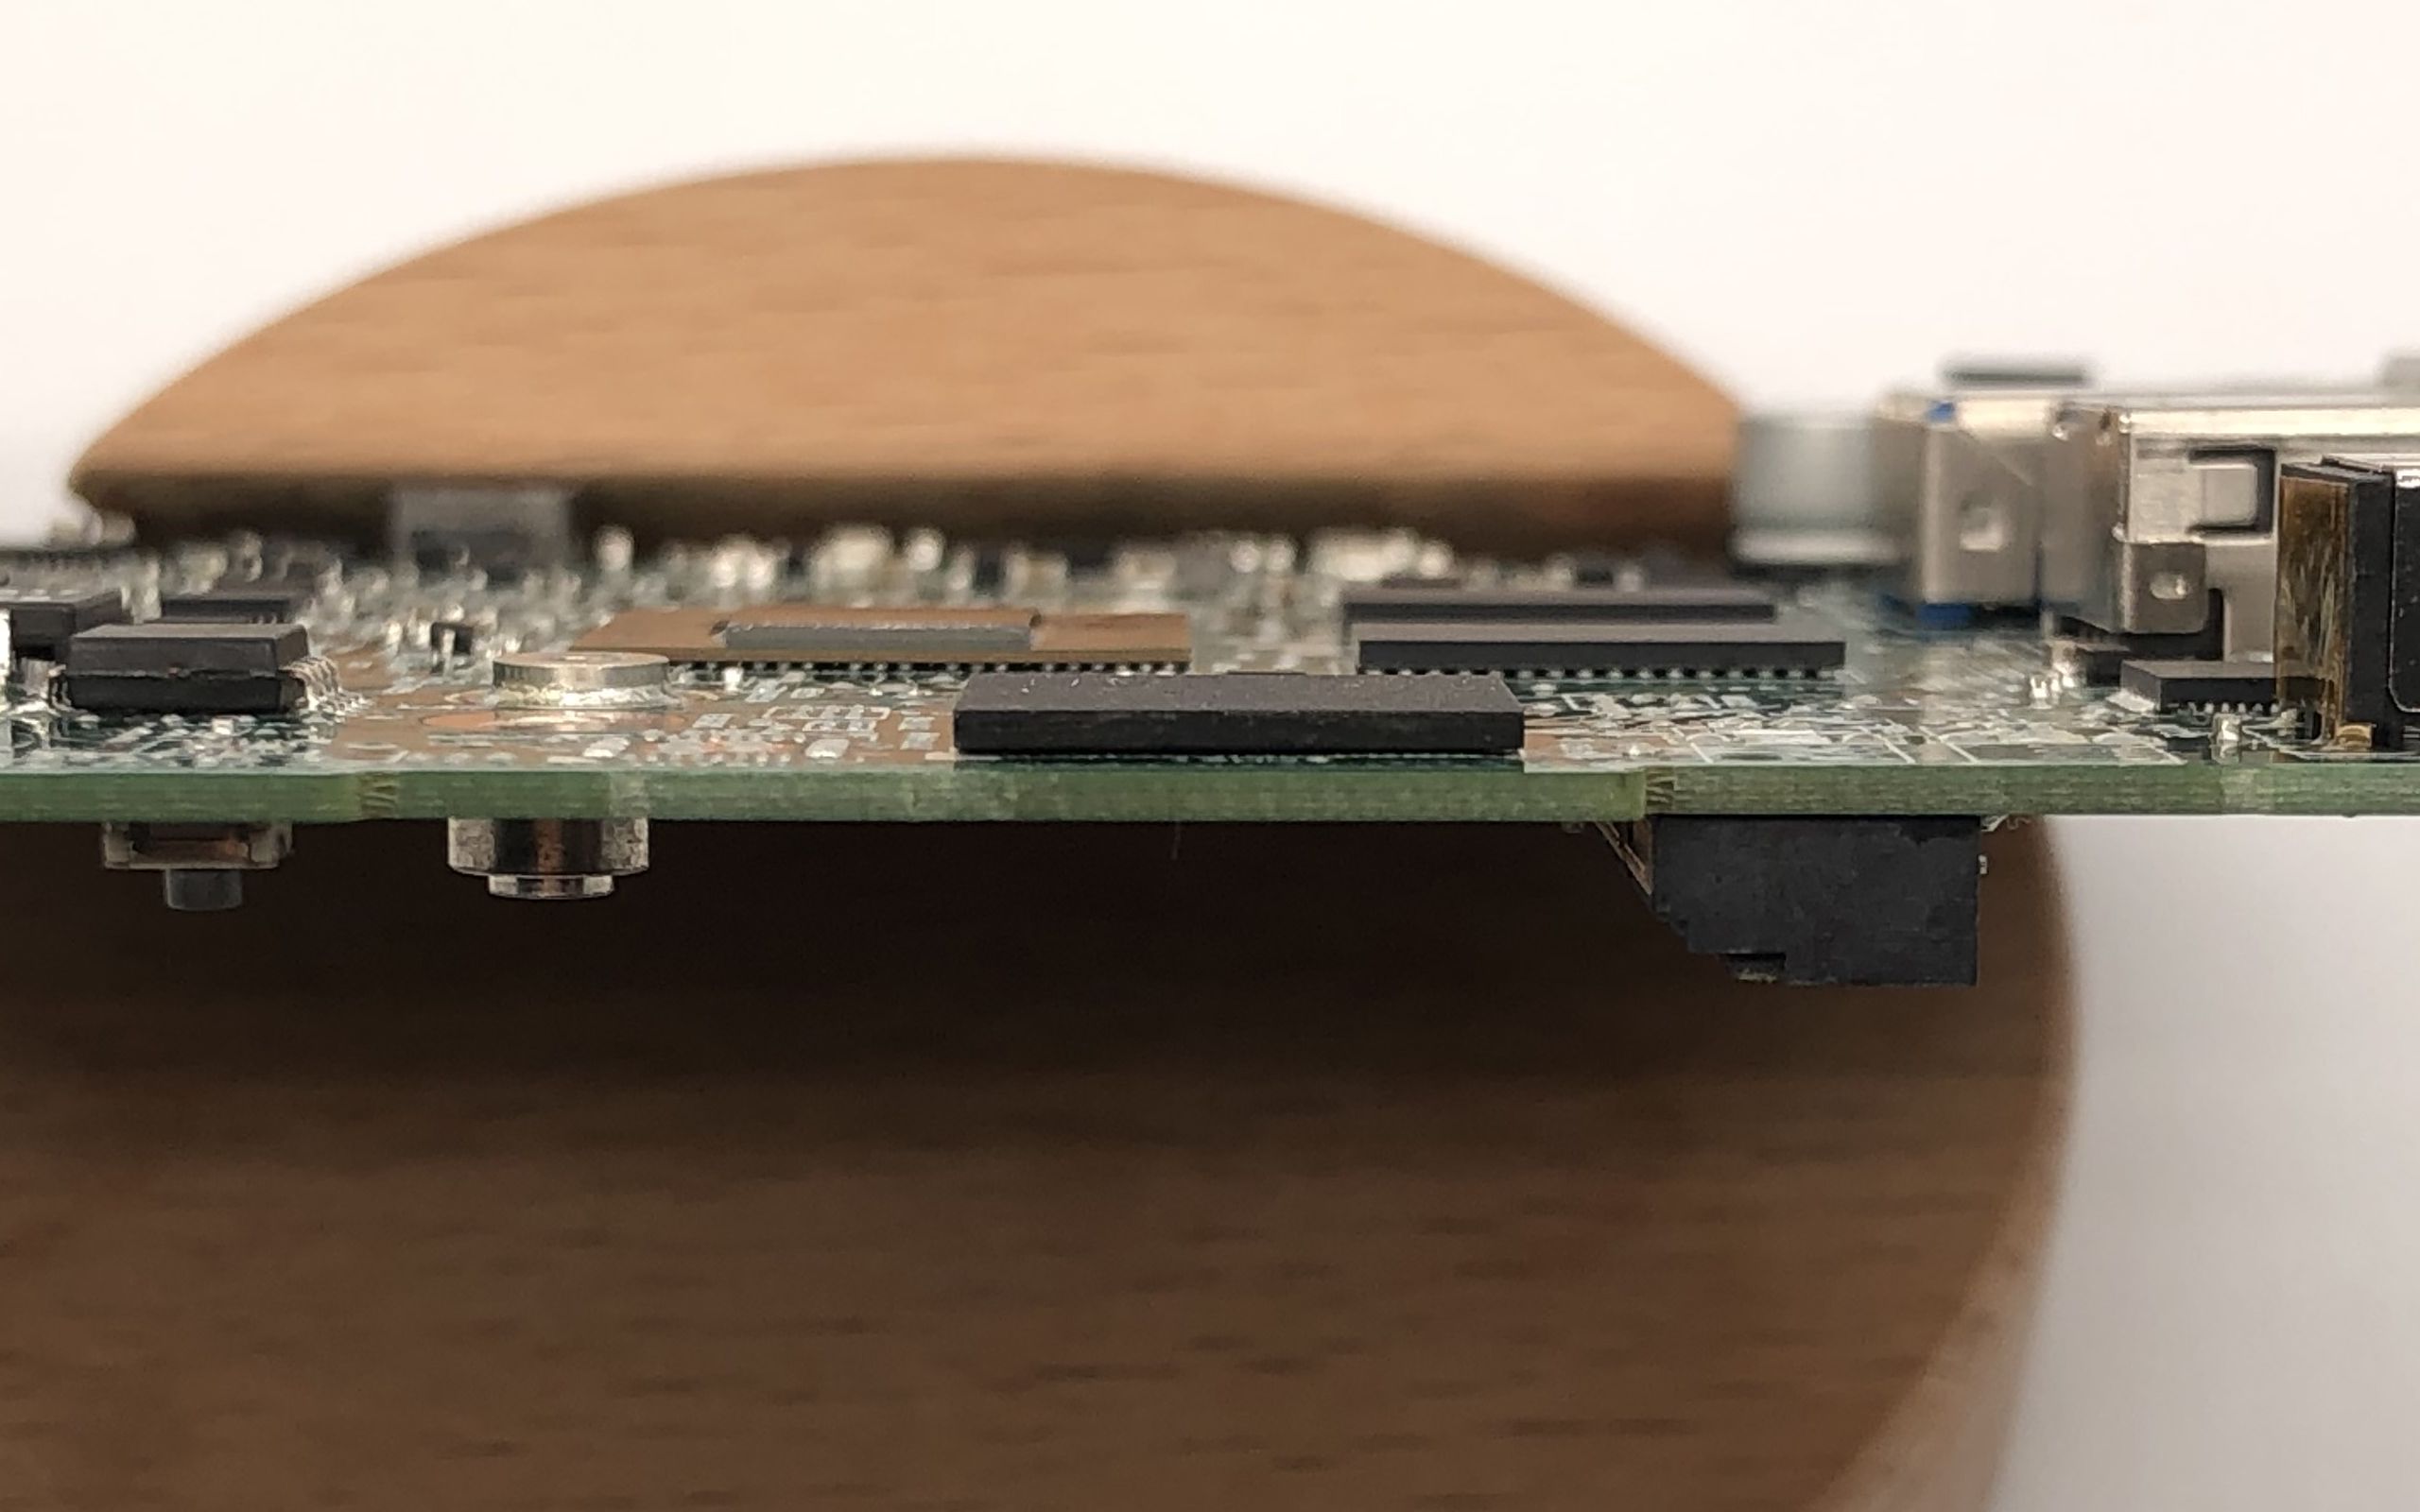
Since this board has a significant amount of ground planes, it dissipates heat very quickly, and thus a few minutes of preheating will be required before it can be worked on. I preheated the board at about 200C for 3 minutes, and then I was able to raise the temperature and take off the chip with my hot air station. The board was in a pretty decent shape after some minimal cleanup.

Soldering the new eMMC back was a fairly trivial process, since my replacement 128GB Samsung chip already had solder balls attached. After preheating, I added a minimal amount of BGA flux between the chip and the board, then finally raised the temperature until it’s soldered correctly. It’s easy to find out whether a BGA chip has been soldered correctly or not by simply giving it a tiny nudge with a tweezer. If it feels springy and snaps back into place, it’s a good indication that all the solder balls have been melted and correctly attached to the solder pads.
After the board has cooled down, I booted into Linux from a flash drive and verified the chip is working great. Unfortunately mmc seems to be having issues parsing the CID registers, but reading the Extended CSD register does indeed work. Did a simple sequential read test with hdparm and speed was decent enough.
# sync; echo 3 > /proc/sys/vm/drop_caches
# hdparm -t /dev/mmcblk0

/dev/mmcblk0:
 Timing buffered disk reads: 478 MB in  3.01 seconds = 158.86 MB/sec
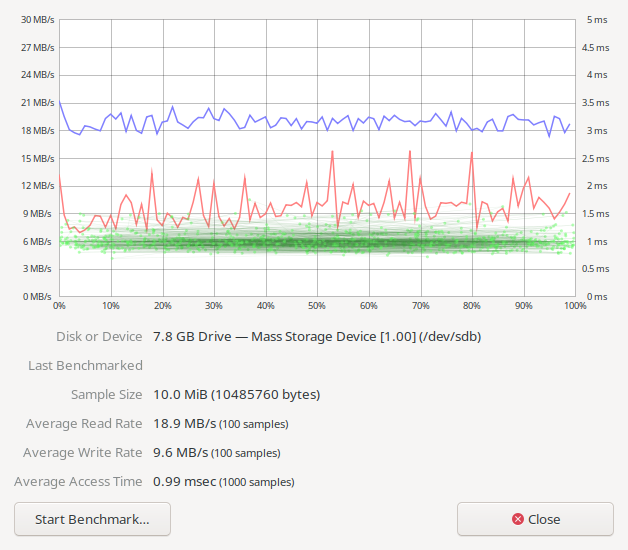
Now that everything is functional, I also wanted to do something about the 8GB eMMC I took off the board. It doesn’t make sense to let it go to waste, so I put it on a card reader board and made a rather cheap and slow flash drive. These card reader boards can be easily found on sites such as eBay or AliExpress.

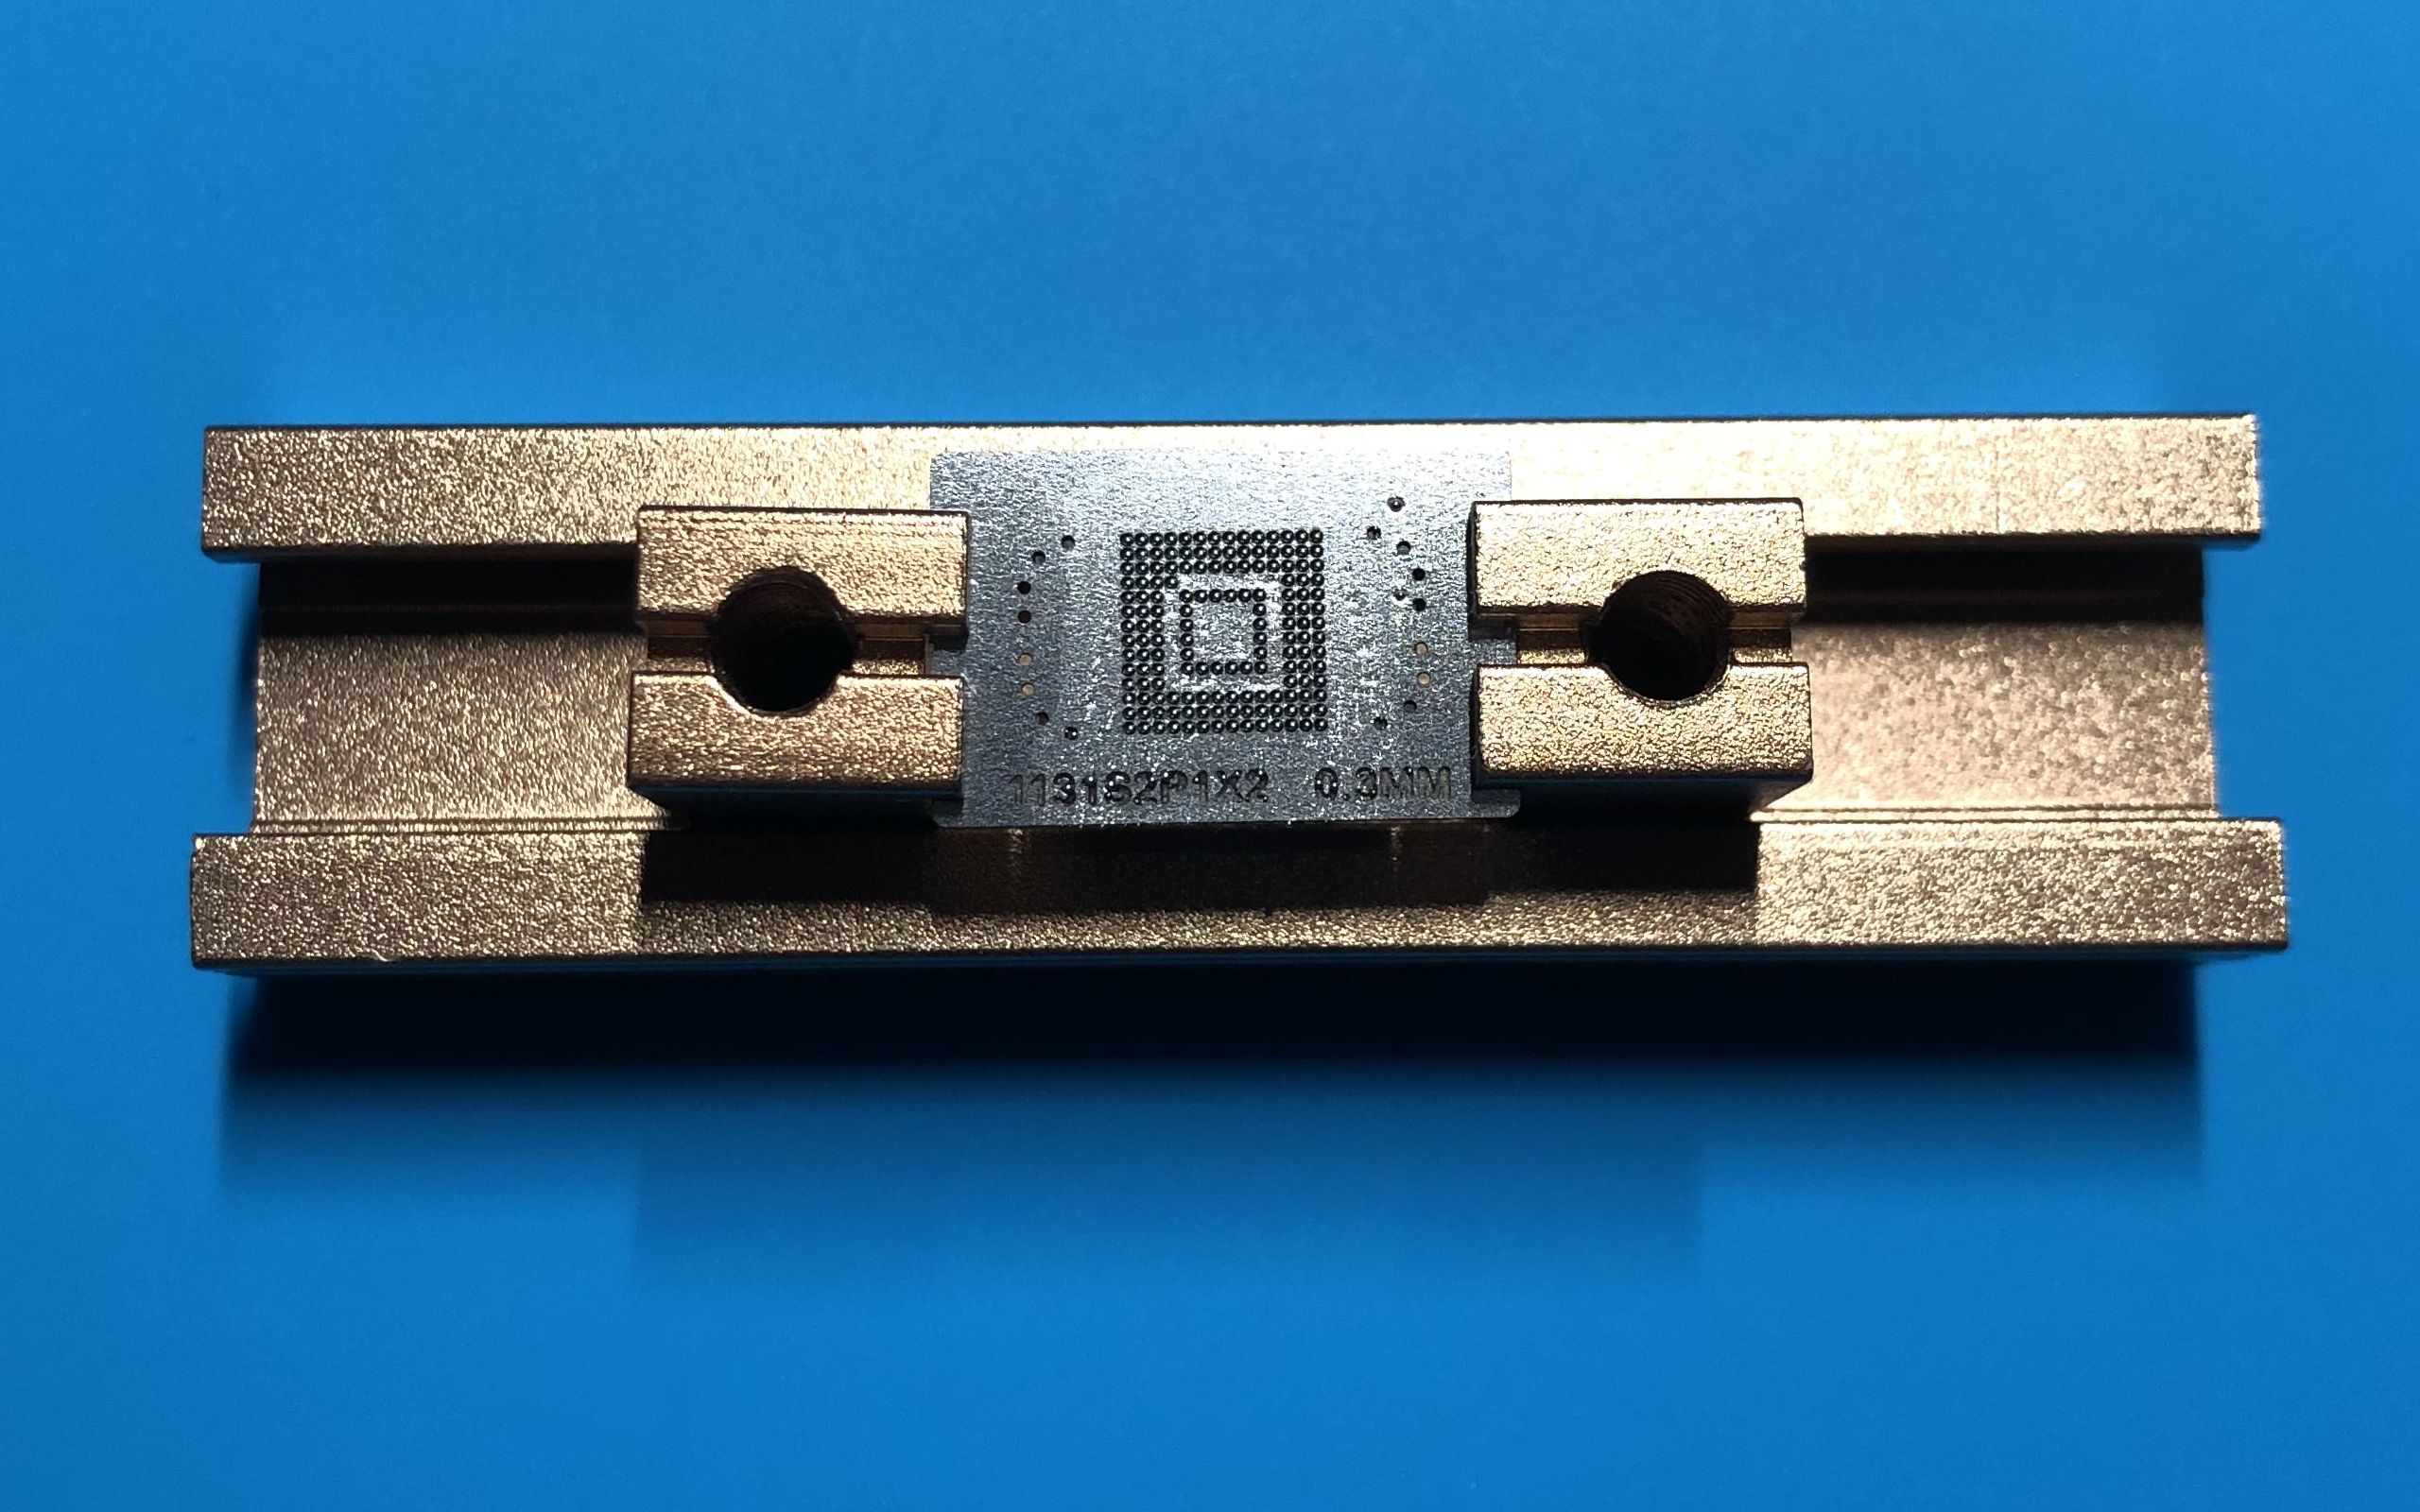
The reballing process is fairly straightforward.
Benchmark result is rather underwhelming, but I can’t exactly expect too much from a USB2.0 card reader either. This is still better than letting the chip going to waste I suppose.
Well, that concludes this rather uneventful journey. I ended up with a thin client with way more storage than before and a freebie flash drive.